


Chapter 12: Table of Contents
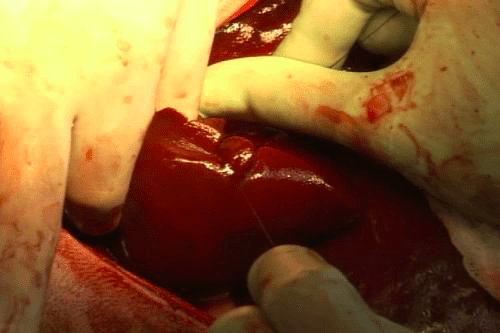
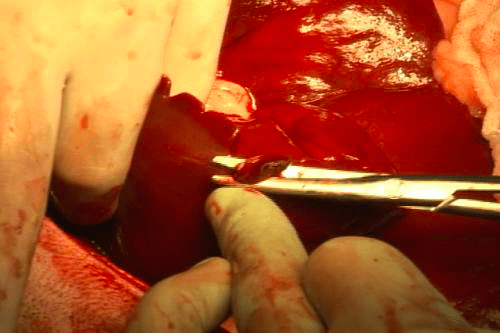
Surgical liver biopsies are often obtained using a ‘guillotine’ or loop biopsy technique but can also be performed using a skin punch. The suture loop is the most common technique used to biopsy the tip or edge of a liver lobe. Pre-place a loop in a strand of absorbable suture (I typically use 3-0 or 2-0 Biosyn® or PDS® and I place a single throw rather than a surgeon’s throw). Slide the suture loop around the tip (~1 cm) of the lobe to be biopsied, ideally along a crease or indentation of the edge of the lobe to help keep the suture in position, and tighten the suture loop to cut through the liver capsule and crush the liver parenchyma until the suture is tight. This will preserve and ligate larger blood vessels and biliary ducts. The biggest mistake is to crush the tissues only partially – this results in hemorrhage or the suture loop simply slipping off. Place three or four throws to form a secure knot. Cut the biopsy sample using a scalpel blade or Metzembaum scissors leaving only a smallstump (5mm at the most) of liver beyond the ligature – this liver tissue is now ischemic. Evaluate for hemorrhage and release the lobe. A small amount of ‘oozing’ from hepatic capillaries at the cut parenchymal edge is normal – it will stop on its own. If marked hemorrhage is noted, apply pressure for a few minutes, place another encircling or transfixing suture, or, apply a small piece of hemostatic sponge (Gelfoam®) to the cut edge to promote hemostasis. If significant bleeding persists, place a non-crushing (tighten only enough to slightly indent the lobe), mattress suture a few millimeters proximal to the cut edge to create pressure at the cut edge.